Operation: Alan
I think Groundhog Day1 is an awesome movie. Much better than all the copycats (especially the action-fury ones like Edge of Tomorrow or Source Code).
Land Commander (brown)
How did I do this?
So, to rehash, the colors palettes I chose for the Commanders were based on the game and they are as follows.
- Diplomat: green
- Land: brown
- Naval: blue
- Nuclear: red
- Space: black
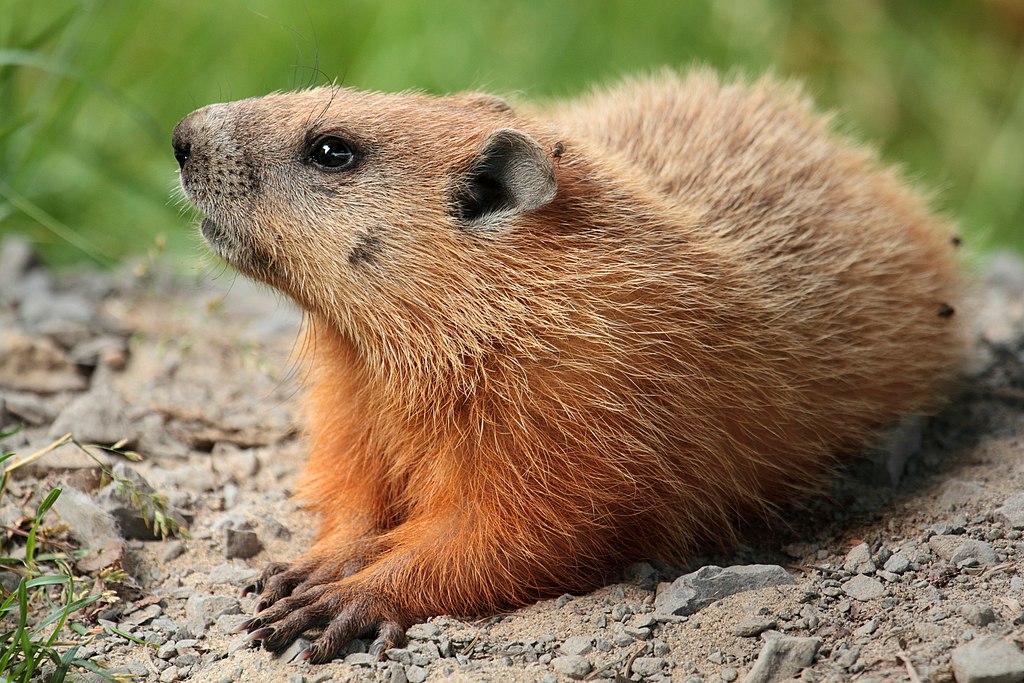
I decided to tackle the Land Commander next. For brownish nature-based color theme I associated to a groundhog2, should be much more interesting than a desert3.
So yeah... browns, with some blacks and whites added for good measure.
Steps applied on a zenithal primed mini were:
- Dry brush guns and breathing apparatus with metallic (AK11210 Natural Steel)
- Mix two browns from
- yellow (AK11045 Deep Yellow)
- orange (AK11080 Deep Orange)
- blue (AK11182 Deep Blue)
- white (AK11001 White)
- Apply darker brown on shielding (cuirass, pauldron, cuisses, greaves)
- Apply lighter brown everywhere else
- Apply black (AK11029 Black) on belt
- Apply blue-grey on breathing apparatus and guns, mixed from
- blue (AK11182 Deep Blue)
- black (AK11029 Black)
- white (AK11001 White)
- Correct some errors

This is a pretty decent base for me as an absolute beginner.
After this, second round (washes are all from The Army Painter: Quickshade Washes Set):
- Apply purple tone wash on the light brown areas
- Apply light tone wash the dark brown areas
- Apply military shader on the guns, breathing apparatus, cuirass and cuisses (although these latter two then have two washed, no problem)
- Dry brush metallic (AK11212 Gun Metal) on the guns and breathing apparatus
- Apply very light brown (seems grey... meh) as highlight on gloves and legs, mixed from the same as the other browns, just different proportions
- Apply white (AK11230 Titanium White) highlight dots on the guns
- Dry brush the player color on the left pauldron and cuirass, apply the same color (unthinned) as visor-color
- Pivot to metallic (AK11194 Brass) for the brown player
- Apply red highlight at the end of the guns, hoping that it would look like overheated guns
- Layers of red (AK11096 Wine Red) then neon orange (AK11081 Fluorescent Orange) and another neon orange (AK11082 Luminous Orange)
Is the troupe ready?
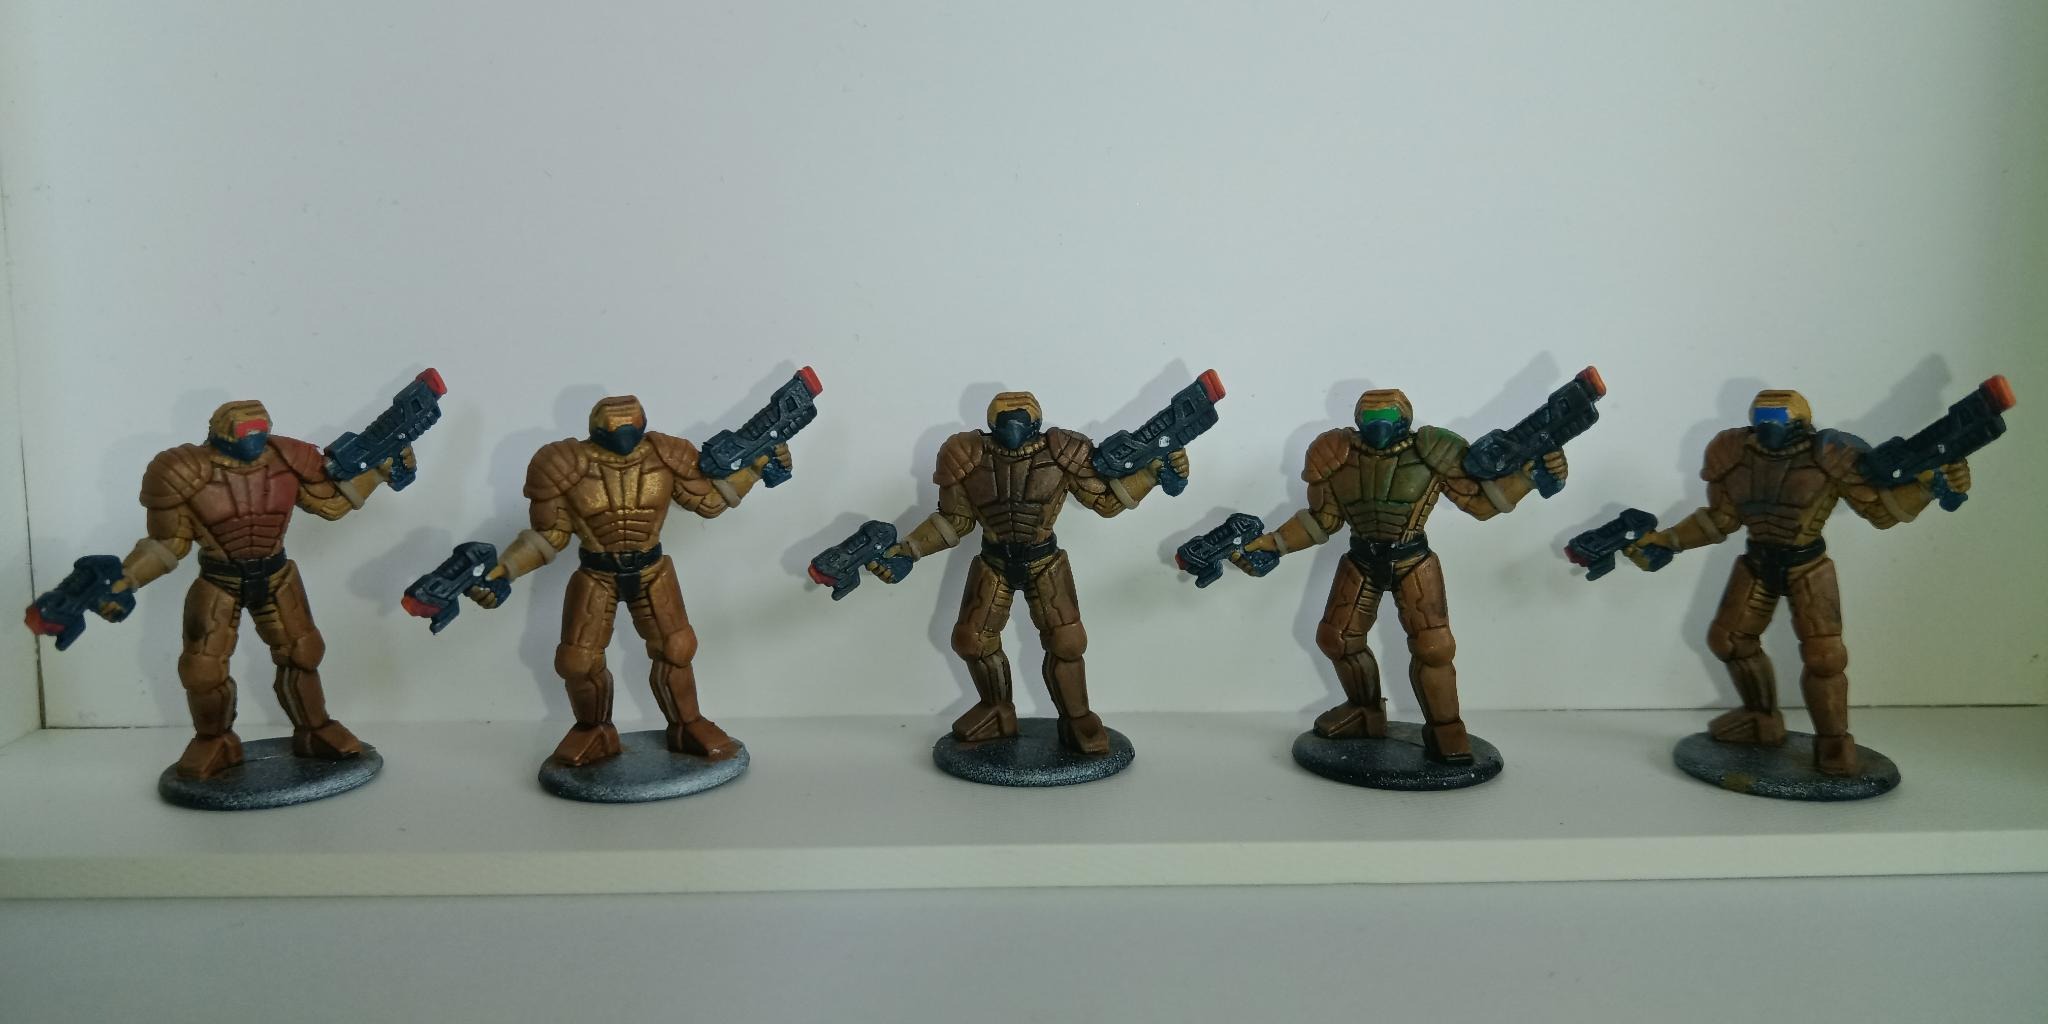
OK, almost... I did redo the ends of the guns (according to my wife “they look now like toy guns”), and varnish. Results are on top 😀
Afterwards I have cut/chipped away the original bases of the minis and glued them onto standard 25mm bases (there will be a separate blog post about those).
What have I learned from this experience?
... a lot?
- Have patience. This is a hobby, enjoy it!
- Contrast matters.
- Washes are magic.
-
Groundhog Day on Wikipedia ↩
-
Spaceballs: Comb the desert on YouTube (I wonder, whether they have ever found Alan) ↩
